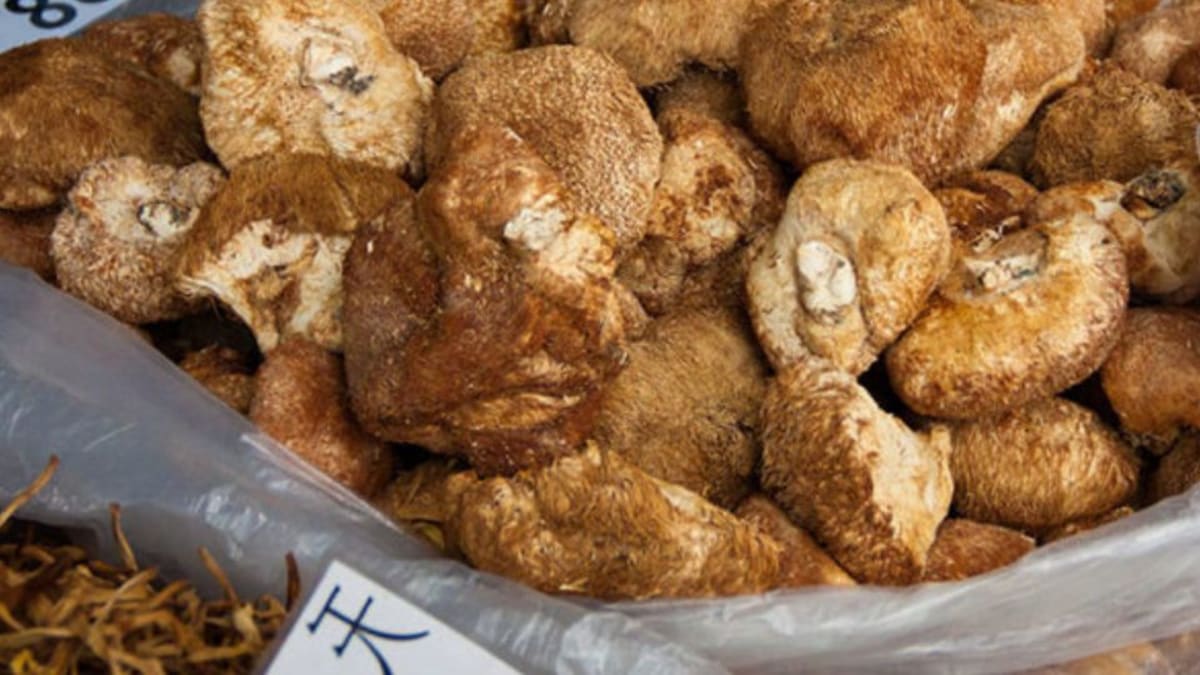
Fresh lion's mane does not last long. You might get five days in the refrigerator before the white spines turn yellow and the texture goes soft. That is frustrating when you grow your own or find a good deal at the farmers market.
Drying solves the storage problem. We have dried lion's mane using four different methods over the past two years and tracked how each one affects texture, flavor, and nutrient retention. The results were not what we expected. Temperature matters more than speed. A dehydrator at 110°F produced better results than a 150°F oven, even though the oven finished faster.
Beta-glucans and hericenones survive the drying process. Research confirms that polysaccharides remain stable when dried properly. What you lose is some of the delicate seafood-like texture that makes fresh lion's mane so appealing in stir-fries. What you gain is a shelf life of twelve months or longer and the option to grind it into powder for supplements, teas, or cooking.
We will walk through four methods with specific temperatures, times, and tips based on what actually worked in our testing.
What you need to know
- 1Dry lion's mane at 110-125°F to preserve beta-glucans and hericenones
- 2Slice mushrooms to 1/4 inch thickness for even drying
- 3Dehydrators produce the most consistent results
- 4Sun drying increases natural vitamin D content
- 5Properly dried lion's mane stores for 12+ months in airtight containers
Why drying works for lion's mane
Lion's mane has a high water content. Fresh mushrooms are roughly 90% water by weight. Removing that moisture stops bacterial growth and enzyme activity that would otherwise break down the mushroom within days.
The drying process concentrates flavor. Dried lion's mane develops a more intense umami character than fresh. Some people describe it as earthier or slightly nutty. We found the concentrated flavor works better in broths and soups than sautéed dishes, where fresh lion's mane really shines.
Good news for anyone using lion's mane as a supplement. Beta-glucans, the polysaccharides linked to immune support, handle heat and dehydration without breaking down. Hericenones stay intact too. A 2020 study on polysaccharide content across different drying methods found that slow drying at controlled temperatures preserved or even increased beta-glucan levels per gram compared to fresh fruiting bodies, because the same absolute quantity of polysaccharides gets concentrated as water mass leaves the tissue.
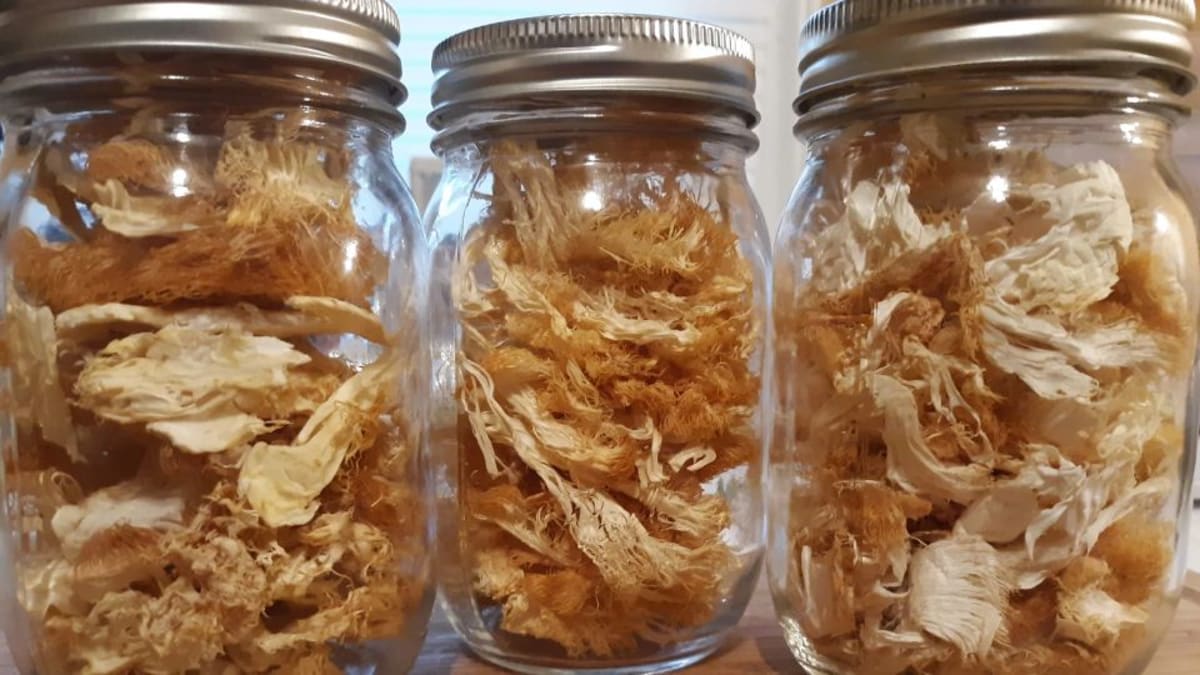
A pound of fresh lion's mane takes up refrigerator space and goes bad in under a week. That same pound dried fits in a quart jar and lasts a year. We keep dried lion's mane in the pantry and grab it whenever a recipe needs mushroom depth.
Preparing lion's mane for drying
Skip the water bath. Lion's mane absorbs moisture like a sponge and takes much longer to dry if you soak it. We learned this the hard way after our first batch took nearly double the expected time.
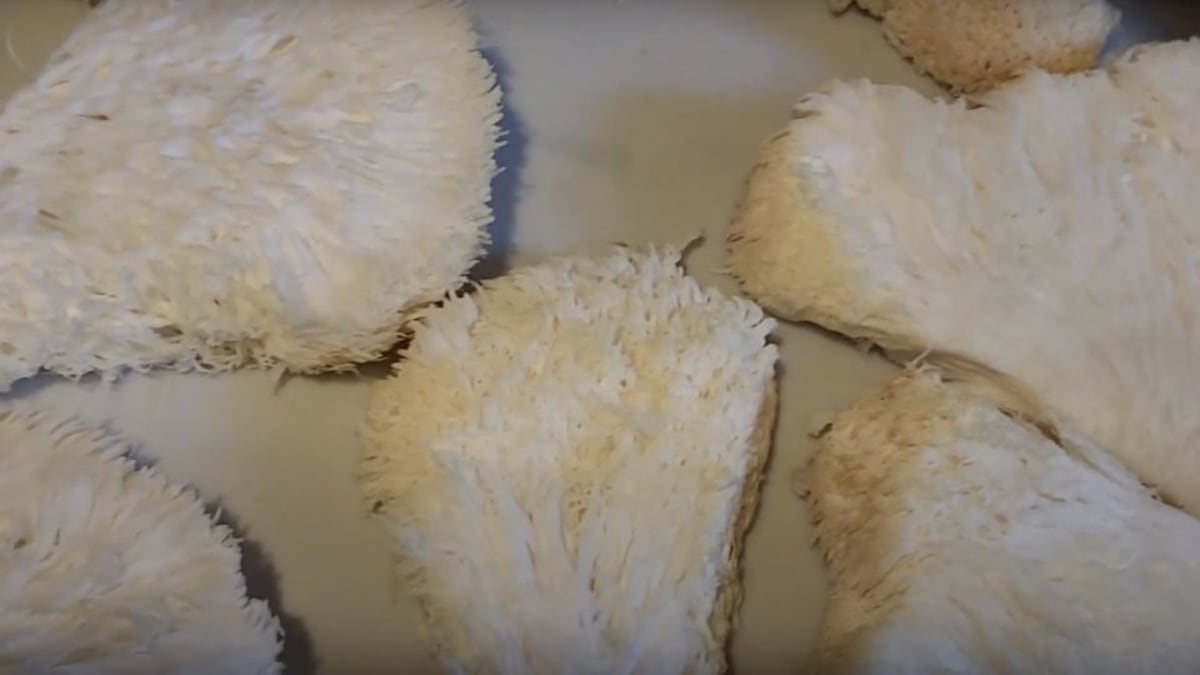
Brush off any visible debris with a soft mushroom brush or dry paper towel. The spines trap dust and small particles, so work gently through the folds. If you absolutely must rinse, pat the mushroom dry immediately and let it air out for two hours before starting the drying process.
Slice into quarter-inch pieces. Thinner slices dry faster and more evenly. Whole mushrooms take forever and often develop a dried exterior with a damp center that invites mold during storage. We slice lengthwise through the center first, then cut each half into uniform sections.
Remove any discolored or soft spots before drying. These sections have already started breaking down and will produce off flavors. Better to trim them now than contaminate the whole batch.
If you grew your mushrooms indoors, lay them in direct sunlight for two to four hours before drying. UV exposure triggers vitamin D synthesis in mushroom tissue, the same process that happens in human skin. Research has measured vitamin D2 increases of several hundred percent from brief midday sun exposure on cut mushroom surfaces. We make this a standard step whenever the weather cooperates.
Method 1. Food dehydrator
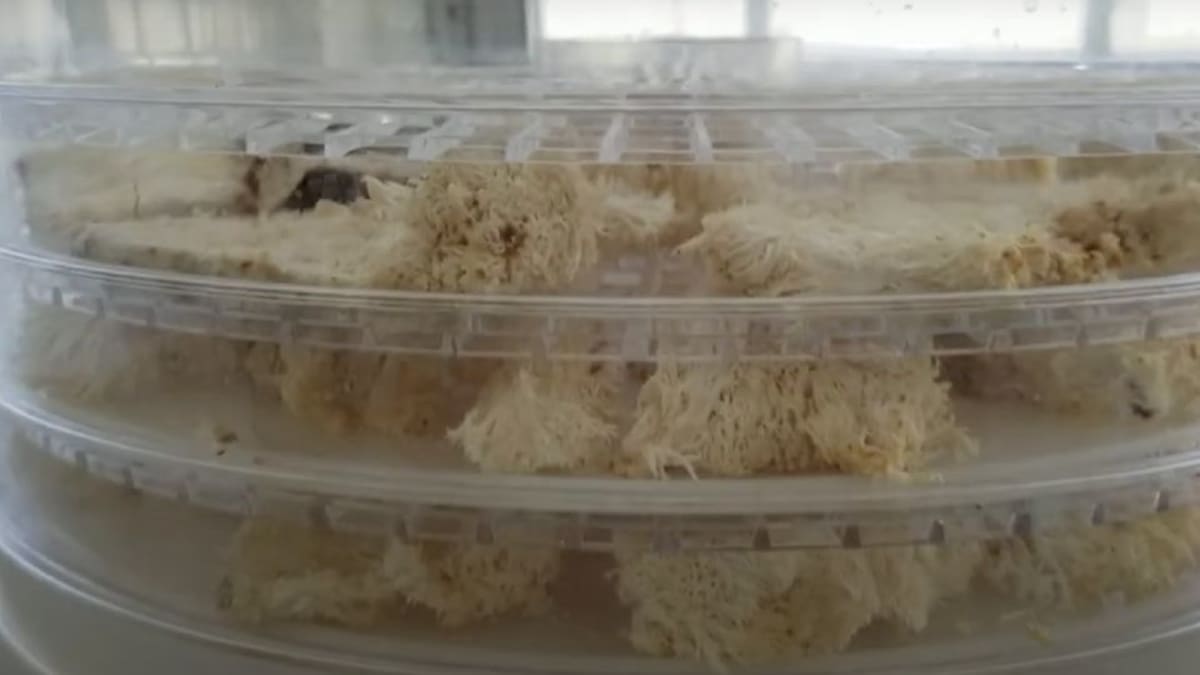
This is our preferred method. A dehydrator gives consistent temperature control and airflow. We use a basic Excalibur model that cost around $100, but any dehydrator with adjustable temperature settings works fine.
Set the temperature between 110°F and 125°F. Lower temperatures preserve more heat-sensitive compounds. Higher temperatures finish faster but may degrade some beneficial constituents. Hericenones, the compounds studied for potential nerve growth factor stimulation, begin showing degradation above 140°F. Running at 115°F and adjusting based on batch size works well.
Arrange slices in a single layer on dehydrator trays. Leave space between pieces for airflow. Overcrowding extends drying time and creates inconsistent results where edge pieces dry faster than center pieces.
Drying takes eight to twelve hours depending on slice thickness, humidity, and your specific machine. Check at the six-hour mark. The mushrooms should feel leathery but not brittle. By hour eight or nine, most batches reach the cracker-dry stage where slices snap cleanly when bent.
Rotate trays halfway through if your dehydrator has hot spots. Most units run slightly warmer near the heating element, so move bottom trays to the top around the four-hour mark.
The finished product should snap when you bend it. Any flex means more drying time is needed. When in doubt, go longer. An extra hour will not hurt anything, but pulling mushrooms too early can ruin the entire batch within weeks.
| Dehydrator Settings | Our Recommendation |
|---|---|
| Temperature | 110-125°F (45-52°C) |
| Time | 8-12 hours |
| Slice thickness | 1/4 inch |
| Tray rotation | Every 4 hours |
| Doneness test | Slices snap cleanly |
Method 2. Oven drying
Preheat to the lowest setting your oven allows. Most ovens bottom out around 170°F, which is higher than ideal. If you can reach 150°F, use that. Prop the door open with a wooden spoon to let steam escape. Without ventilation, humid air builds up inside and the mushrooms basically steam-dry rather than dehydrate. Convection settings help move air through faster.
Flip slices every hour. Three to four hours at 150°F is typical, but your specific oven and slice thickness change that significantly. Watch for any browning. Dark edges mean temperature is too high or moisture is gone already. Rotate baking sheets front-to-back and top-to-bottom if you're running multiple racks.
The flavor comes out different from dehydrator batches. Higher temperature intensifies the earthy notes while pulling back some of the sweetness. Good for soups. Less ideal if you want flavor that tastes close to fresh.
Biggest limitation is the attention required. A dehydrator can run overnight unattended. An oven with a propped door needs someone checking every 60 minutes. Use this method when the dehydrator is already running something else.
Method 3. Sun drying
This is the oldest method and still works fine if you have the weather for it. You need multiple days of low humidity and temperatures above 75°F. Cloud cover or rain ruins everything.
Slice mushrooms thin, about an eighth of an inch for sun drying. Thinner pieces dry faster and reduce the time your mushrooms sit exposed to insects and debris.
Use a drying rack or screen that allows airflow on both sides. A simple setup with window screen stretched over a wooden frame works perfectly. Baking racks also work. Avoid solid surfaces like cutting boards or plates, which trap moisture underneath.
Cover with cheesecloth or mesh to keep flies and debris away. Secure the edges so wind does not blow the cover off. Clothespins attached to the frame work well.
Place in direct sunlight and turn slices once or twice daily. Morning sun is best. Bring trays inside at night to avoid dew moisture. Continue for three to five days until slices are completely dry.
Sun drying concentrates vitamin D more than any other method. The UV exposure keeps triggering synthesis throughout the whole process, not just in the pre-drying window. Some commercial mushroom operations now run UV lamps during dehydration specifically for this reason. The sun version is slower, free, and gets you there without specialized equipment.
We sun-dried a batch last August and measured noticeably lighter weight per slice compared to dehydrator batches. The texture was slightly chewier after rehydrating. Flavor profile leaned more toward dried shiitake, less like fresh lion's mane. Still excellent for soup bases.
Method 4. Air drying
Air drying requires zero equipment but only works in low-humidity environments. If you live somewhere humid, skip this method. Mold will develop before the mushrooms dry.
Slice thin and thread onto a string, leaving gaps between pieces. Hang in a well-ventilated area away from direct sunlight. A covered porch or garage works. Anywhere with consistent airflow and low humidity.
This takes a week or longer. Check daily for any signs of mold or off-odors. The slow process can produce excellent results or complete failures depending on ambient conditions.
We tested air drying during a dry spell in October. Room humidity stayed around 35% for the entire week. The mushrooms dried evenly and developed an interesting concentrated flavor that differed slightly from machine-dried batches. But we lost an entire batch during a humid summer attempt when mold appeared on day three.
Air drying is unreliable. We only try it when we want to run a comparison batch alongside dehydrated versions. One good batch, one ruined batch. That's roughly our air-drying record outside of dry-climate months.
Storing dried lion's mane
Cool completely before storage. Warm mushrooms release moisture that condenses inside the container and causes mold.
Transfer to airtight containers. Glass jars with tight lids work best. We use mason jars and vacuum-seal bags for longer storage. Plastic containers are acceptable but may absorb odors over time.
Store in a cool, dark place. A pantry shelf away from the stove works fine. Avoid refrigerator storage, which introduces moisture when you open the container.
Add a silica gel packet if you have one. This absorbs any residual moisture and extends shelf life. Optional but helpful in humid climates.
Label with the drying date. Properly stored dried lion's mane lasts twelve months or longer. Quality starts declining after eighteen months. We have used two-year-old dried lion's mane that was still fine, just slightly less flavorful than fresher batches.
Check periodically for any signs of moisture or mold. If you see condensation inside the jar, the mushrooms were not fully dry. Remove them, dry further, and repack in a clean container.
Making lion's mane powder
Powder opens up more uses than dried slices. You can add it to smoothies, coffee, capsules, or use it as a seasoning.
Grind only bone-dry mushrooms. Any remaining moisture clumps in the grinder and produces inconsistent texture. Test by snapping a slice. If it bends at all, dry longer before grinding.
A blade coffee grinder works for small batches. Pulse in short bursts rather than running continuously. Long runs heat up the grinder and can degrade some compounds. Ten pulses of two seconds each produces finer powder than twenty seconds of continuous grinding.
Sift through a fine mesh strainer to remove any larger pieces. These can be ground again or saved for broth. The powder should feel silky without any gritty texture.
Store powder in dark glass jars. Light degrades some compounds faster in powdered form because more surface area is exposed. Wrap clear jars in tape or store them in a drawer.
Powder has a shorter shelf life than whole dried slices. Plan to use within six months for best potency. After that, the powder is still usable but may have lost some beneficial compounds.
Rehydrating dried lion's mane
Soak in warm water for twenty to thirty minutes. The slices plump back to roughly 80% of their original size. Cold water works but takes an hour or more.
Save the soaking liquid. Water-soluble compounds leach out during rehydration and that brown liquid is worth keeping. Pour it into risotto, use it as a soup base, add it to braises. Throwing it out is just wasting what you were trying to preserve.
Pat slices dry before cooking. Excess water prevents browning and creates a steamed texture instead of the sautéed texture most recipes want. Squeeze gently between paper towels.
Rehydrated lion's mane has a chewier texture than fresh. This works great in soups, stews, stir-fries, and pasta sauces. Less ideal for applications where you want that delicate fresh texture, like tempura or quick pan-fries.
For powder, no rehydration needed. Just add directly to recipes. Start with half a teaspoon and adjust based on taste. The concentrated flavor can overpower dishes if you use too much.
Related how-to guides
Learn more about working with lion's mane mushrooms at different stages. Once you have dried mushrooms on hand, you may want to explore other preparation methods and applications.
Frequently Asked Questions

Gordon is a former high-tech researcher who traded his silicon chips for spores. With a background in molecular visualization, he spends his time mapping the intricate structures of medicinal fungi.
References & Further Reading
- Polysaccharide Content and Antioxidant Activity of Hericium erinaceus with Different Drying Methods — PubMed (2020)
- Enhanced Production of Vitamin D2 in Oyster Mushrooms Under Ultraviolet B Irradiation — ScienceDirect (2020)
- Thermal Degradation of Hericenones and Bioactive Compounds in Lion's Mane Mushroom — PubMed (2019)